Scenario 1: While merging multiple company data, transactions are getting overwritten or deleted on importing data of another company.
Scenario 2: While importing third party xml data to Tally, transactions available in Tally database are getting deleted or overwritten.
Reason
- If multiple copies of a single company are copied in different locations rather than creating from Tally application, then vouchers will hold same Voucher ID at all the locations.
- Consolidation of all the company vouchers using export and import feature will lead to overwriting or deletion of the vouchers as Voucher ID is same in all the companies.
- If third party application is generating same Voucher ID for all vouchers, then the above-mentioned problem will occur while importing the xml files.
Solutions
Scenario 1: Create the company from Tally application and import the data by removing the voucher ID with the help of Notepad++.
Scenario 2: For third party software’s, you need to generate unique Voucher ID for each and every voucher.
Below is the XML TAG LINE which should be altered:
<VOUCHER REMOTEID="Unique id has to be provided" VCHKEY="01ae33cc-833c-479e-913c-c5079b964709-0000a46e:00000008" VCHTYPE="Purchase" ACTION="Create" OBJVIEW="Invoice Voucher View">
Additional information
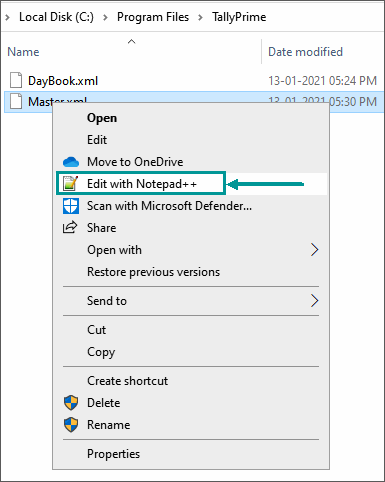
To merge all the current data and to overcome the overwriting or deletion problem, Voucher ID must be removed from daybook.xml files. This can be done using XML editors. Below is the procedure followed for “NOTEPAD++” software.
Note: There are multiple XML editor software, but procedure might vary from one software to another.
Following is the procedure for replacing Voucher remote ID using Notepad++ software.
Step 1
- Download the Notepad++ software.
- Load the XML file using NOTEPAD++ software.
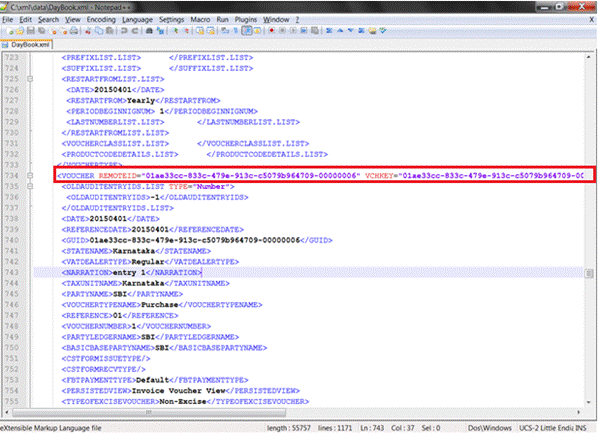
- Press Ctrl+F button -> in Find what field, mention Remoteid=*.*vchtype and in Replace field, mention VCHTYPE. In Search Mode box, enable the option Regular expression and click on Replace All.

- After selecting Replace All option, the Voucher ID will be removed from all the Vouchers & message will be displayed as shown below:

- Once replacement is completed, you will find the difference in below mentioned tag line:
- Before replacement:
- After replacement:
Step 2: Import this daybook.xml to Consolidation Company, so that complete data will get imported.
Note: Ensure to import this xml file only once. If import is done again and again, transactions will get duplicated.
